How to Prevent Iron-On Patches from Falling Off (Proven Tips)

You spend time lining up your favorite patch, heat the iron, press down hard, and for a moment everything looks perfect. Then the nightmare begins. One wash later, the edges start curling. A week later, the patch is sliding off like it never belonged there.


Sound familiar?

That’s the curse many people run into with iron on patches. They look great on day one but start betraying you far too soon.


The Good News?

You don’t have to accept patches that peel, crack, or vanish after a couple of laundry cycles. This guide is packed with practical fixes, clear steps, and proven tricks to keep your patches locked in place.


Let’s discuss!

How to Prevent Iron-On Patches

The Science Behind Iron-On Patches

An iron on patch sticks because of heat, adhesive, and fabric. The glue on the back melts under heat, grabs the fibers, and hardens as it cools. Simple, but small details decide whether it lasts or peels.


Embroidered iron on patches have thicker stitching, which means the adhesive needs more heat to grip the fabric well. Iron on embroidered patches focus more on the adhesive layer, so they often bond faster.


Fabric matters too. Cotton or denim? No problem. Polyester? Yes (that’s tricky), but only at low heat with a pressing cloth. Too hot, and the fabric scorches. Too cold, and the patch never bonds.


In short: right patch, right heat, right fabric. Get those three aligned, and your patches won’t quit.


How to Iron On a Patch the Right Way

If you’ve ever wondered how to iron on a patch and make it stay, here’s the process that actually works:


01. Prep the Fabric

Lay the garment flat on a clean, heat-resistant surface. A hard surface like an ironing board works best. Make sure the fabric is smooth with no wrinkles under the patch.

Prep the Fabric

Position the Patch

02. Position the Patch

Place the patch exactly where you want it. Once the glue melts, moving it around is tricky, so take a moment to set it right.


03. Add a Pressing Cloth

Cover the patch with a thin cotton cloth or parchment paper. This protects both the patch and the fabric from direct heat.

Add a Pressing Cloth

Set the Iron

04. Set the Iron

Use a medium-high setting without steam. For cotton or denim, higher heat works well. For polyester or delicate blends, lower the temperature.


05. Press Firmly

Hold the iron on top of the cloth for 20–30 seconds with steady pressure. Don’t slide the iron. Press down like you’re sealing a secret letter, letting the heat activate the adhesive.

Press Firmly

Flip and Repeat

06. Flip and Repeat

Turn the garment inside out. Heat the back of the fabric where the patch sits for another 15–20 seconds. This helps the glue bond deeper into the fibers.


07. Let it Cool

Leave the garment untouched for a few minutes. The cooling process hardens the glue and locks the patch in place.

Let it Cool

Troubleshooting Tips

If edges start lifting, place the cloth back on and apply heat again for 10–15 seconds. For stubborn spots, a few stitches around the border or a touch of fabric glue adds extra hold without changing the look.


Patches for Other Fabric (Sweatshirts, Hats, and Beyond)

Patches don’t behave the same way on every surface. A sweatshirt absorbs heat differently than a hat, and polyester reacts differently than denim. If you use the same method on each, you’ll either end up with patches that peel or fabric that gets damaged.


The trick is adjusting your approach based on what you’re working with. Here’s how:


Iron on patches for sweatshirts

Sweatshirts are popular for patches, but their thick, layered fabric makes heat transfer uneven. Place the sweatshirt flat, use a pressing cloth, and apply firm pressure for a bit longer than usual.


Heating both the front and back helps the adhesive melt through the extra layers.


Iron on hat patches

Hats bring a different challenge: curved surfaces. Regular irons don’t sit flat, which means edges can lift. A heat press designed for hats works best, but if you’re using a household iron, focus on pressing small sections at a time.


Apply steady pressure, rotate the hat carefully, and give extra attention to the patch edges.


Can you iron on patches to polyester?

Yes, but polyester burns under high heat, so caution is key. Set the iron to low or medium, place a pressing cloth on top, and apply shorter bursts of heat.


If the patch doesn’t stick well, reinforce it by sewing around the edges or using fabric glue as backup. That way, the fabric stays safe while the patch stays put.


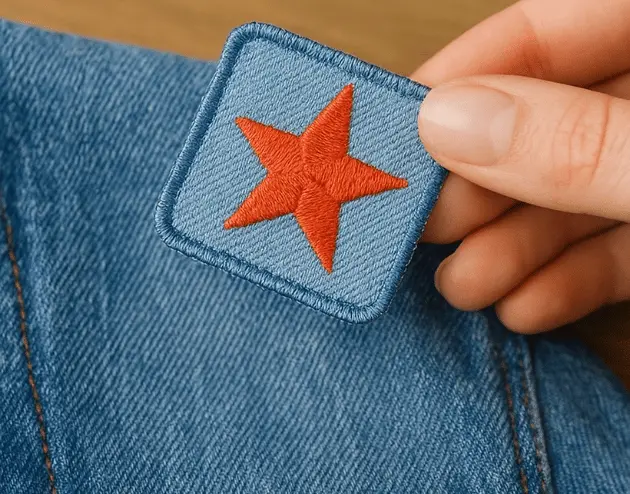
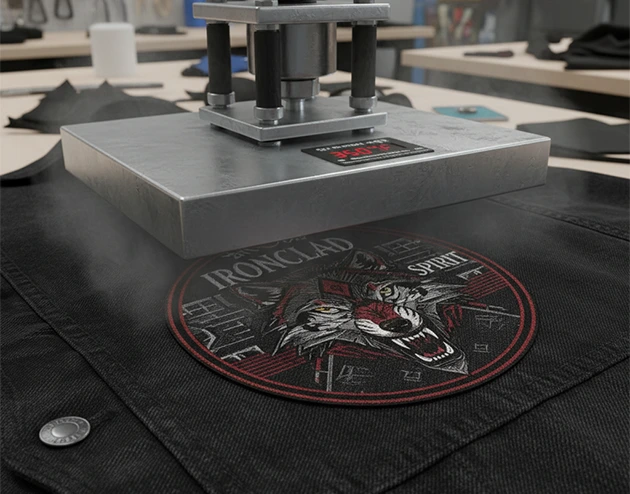
The Problem with Large Iron-On Patches

Big patches look amazing, but they also come with big problems. One minute your jacket is perfect. Next, the corners are curling, the edges are lifting, and that statement patch is barely hanging on after a single wash.


Why? More surface area means more stress. Gravity, fabric stretch, and uneven heat all team up to make the adhesive fail.


Here’s how to stop it from happening:

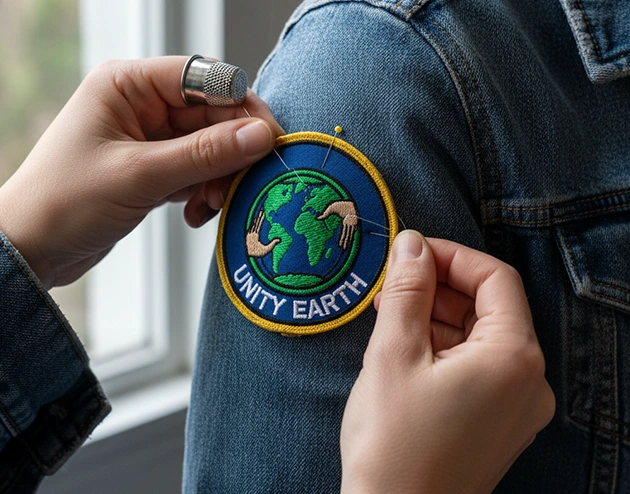
1. Just a few quick stitches around the border can hold the patch in place better than heat alone.

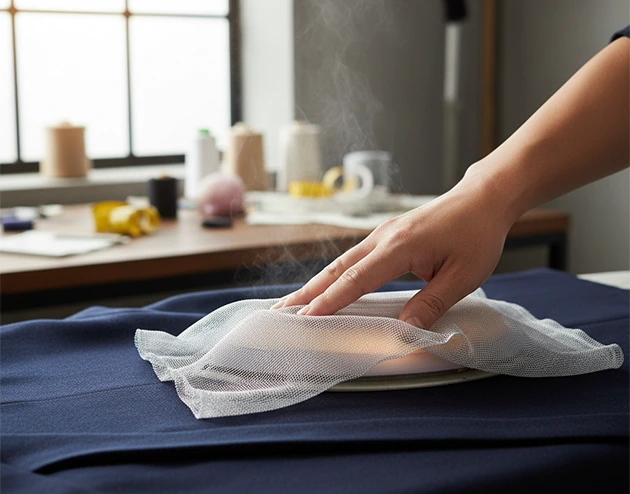
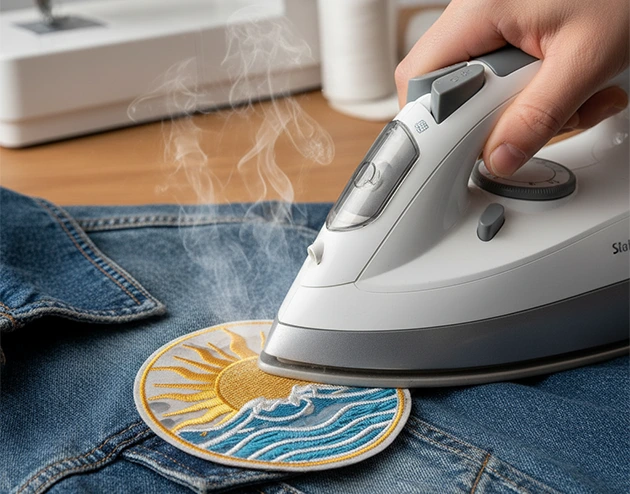
2. Unlike a regular iron, it spreads heat evenly across the entire patch. No weak spots.

3. Press once, let it cool, then press again. It sounds simple, but this little trick locks the adhesive in tight.

Large iron-on patches can make a statement without peeling, if you treat them right. Follow these steps, and your patch will stay put as long as you want it to.


DIY Iron-On Patches (Fun or Frustration?)

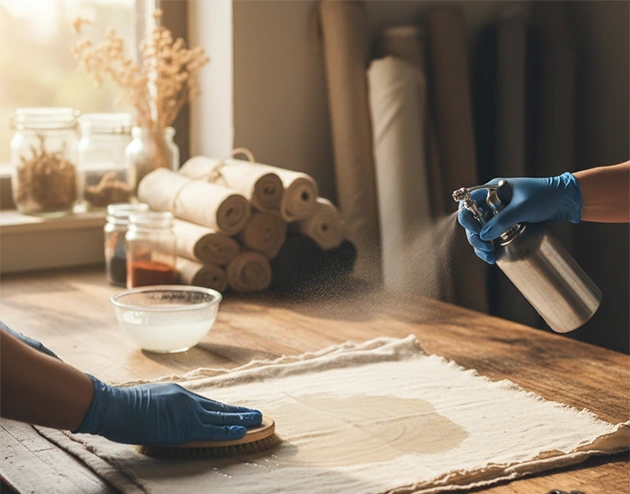
Making DIY iron on patches sounds fun. You pick your design, cut it out, iron it on, and suddenly your sweatshirt or backpack is uniquely yours. It’s creative, personal, and satisfying, until the patch starts peeling after the first wash.


The Honest Truth:

DIY patches often use weaker adhesives. The result can be uneven, inconsistent, or short-lived. Some crafters love the trial-and-error process, but if your goal is patches that stay put without constant re-ironing, DIY can be frustrating.


A Simple Rule:

If you’re fine touching up your patch every week, go for it. But if you want patches that hold firm, last through washes, and keep their look, then relying on stronger methods or professionally made patches is the way to go.

DIY is fun, but durability pays off in the long run. Choose wisely based on how much effort you’re willing to invest.


Why Iron-On Patches Fail (Fun or Frustration?)

Ever watched a patch slowly curl or lift right before your eyes? That sinking feeling is almost always how the patch was applied or cared for. Most people blame the patch, but the real problem lies in the process.


Here’s why patches fail:

1. Wrong heat:Too high scorches the fabric, too low leaves the adhesive weak.

2. Wrong fabric:Thick sweatshirts or layered fabrics need more pressure and attention.

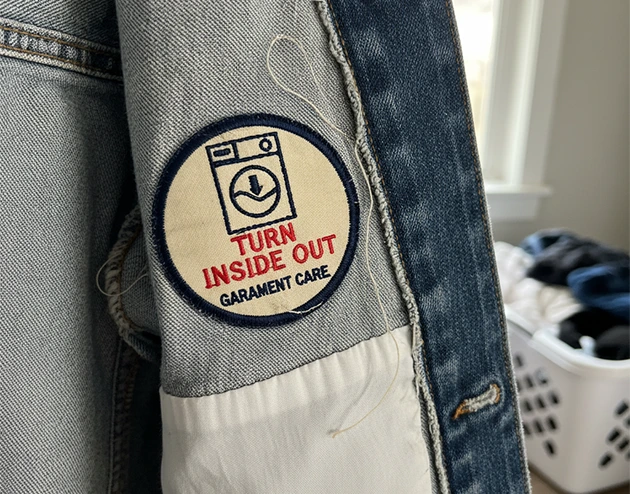
3. Washing mistakes:Hot water or rough cycles can lift edges instantly


How to prevent failure:

1. Match the heat to the fabric. Adjust for cotton, denim, or polyester.

2. Press firmly and evenly, giving thick layers extra time.

3. Let the patch cool completely before washing.

4. Reinforce edges with a few stitches if needed.


Follow these steps, and your patches stop peeling mid-day or after a wash. What used to be a daily headache becomes a patch that lasts.


Final Thought

Peeling patches frustrate everyone, but the fix is simple: use the right heat, press firmly, match the fabric, and reinforce edges when needed. Follow these steps, and your iron on patches can last for years and look great every time you wear them.

HAVE ANY QUESTIONS ?

Customer satisfaction is our top priority. Feel free to contact us for any queries or assistance. Looking forward to serving you with our top-notch design services

A

Honestly, it depends. If you press them right and don’t throw them in the wash too hot, they can stick around for years. Some fabrics hold better than others, but a little care goes a long way.

A

They can, but treat them gently. Cold wash, delicate cycle, skip the dryer if you can. And if you really want them to stay put, a few quick stitches around the edges work wonders.

A

It’s really about what you need. Iron-on patches are super quick—you press and go. Sew-on patches take a bit more time but will stick through heavier wear. So, convenience or toughness—your call.

A

Press them down firmly, put a thin cloth on top, and let them cool before you move them. If edges are still tricky, a few stitches along the border usually fixes it.

A

Yeah, but it’s a bit fiddly. Work small sections at a time, press firmly, and don’t rush the edges. For stubborn curves, a heat press or a few stitches can make the patch lay flat.